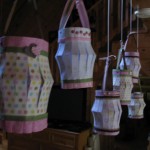
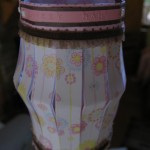
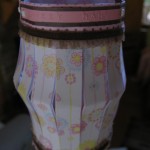
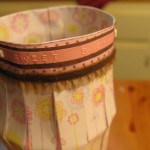
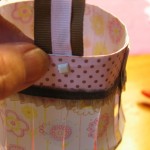
 I made these lanterns for my daughter in laws upcoming baby shower. I really had fun with these and I am sure I will be making them for many other occasions because they are just so much fun to make! Of course these are only to be used with battery lights!
Materials:
- 12 x 12 sheets of scrapbook paper. (You will need one for each lantern and a few strips from a contrasting one for each lantern.)
- 1 sheet of heavy cardstock paper for lantern bottoms. ( You can cut at least four from an 8 1/2 x 11 inch piece of paper and can six and possibly more from a 12 x 12 inch piece of paper. )
- ribbon and other trims (I bought wide and narrow for the handles and assorted kinds for trim on the lanterns.)
- paper fasteners
- glue
Step 1.
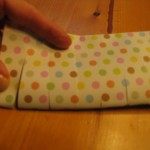
Fold paper in half and cut slits in paper every inch as shown. Stop about an inch from top as shown.
Step 2.
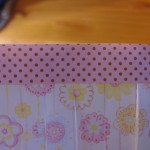
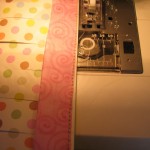
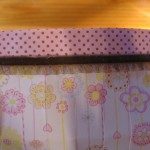
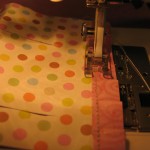
There are two ways to apply the paper strips. You can use glue or you can sew them on. I did some lanterns both way to show you how. Apply the paper strip to the top using glue or by sewing it on.
Step 3.
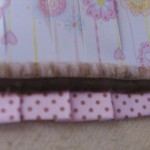
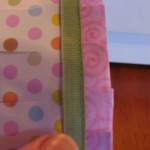
Apply ribbon to paper strip as shown. On some lanterns I put it on the top and bottom of the strip but on others I just put it on one edge.
Step 4.
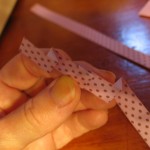
For the bottom of the lanterns I cut strips of paper that were 1/2 inch wide and 24″ long. (You will have to glue or stitch two pieces together if you use scrapbook paper.) Then I start making folds all the way across to give it a pleated look. If I’m sewing the paper I do it as I’m folding. If I’m using glue I fold it first and then put a dot of glue inside each little pleat to hold it together.
Step 5.
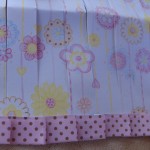
Stitch or glue the pleated paper to the bottom of lantern.
Step 6.
Attach ribbon trim to top of pleated contrast piece.
Step 7.
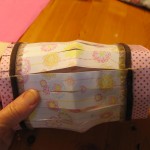
Glue ends together to form lantern.
Step 8.
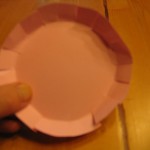
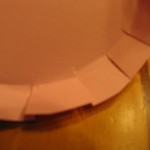
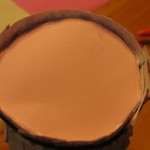
Cut out 4 inch circle for bottom of lantern. Cut slits as shown all the way around and fold them up. Spread some glue on the inside of the bottom of the lantern and then carefully slide the lantern bottom into place.
Step 9.
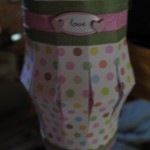
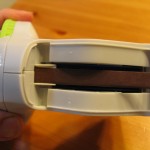
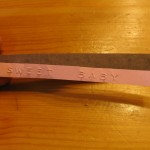
To make labels cut a strip of paper that will fit into a labeling gun and then feed it in by pushing the trigger. Make your label and then cut a piece of paper that is slightly bigger out of a contrasting paper and attach it to the lantern using paper fasteners.
Step 10.
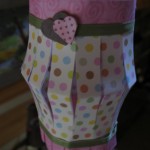
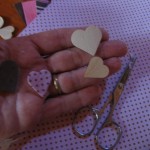
Cover small wooden hearts with scrapbook paper and then glue onto front of lantern.
Step 11.
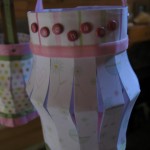
These are just paper alphabet paper fasteners that I used to spell out the baby’s name.
Step 12.
This one is made using two paper fasteners and a pre made chipboard tag.
Step 13.
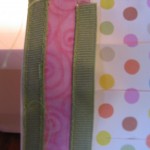
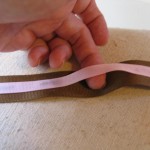
Glue the smaller piece of ribbon on top of the larger piece leaving a section right in the center open so that you can tie a string or ribbon through it for hanging.



Leave a Reply