Gift bags are really easy to make and can be made out of almost any kind of paper and even some fabrics. You can really use your imagination when it comes to trimming out your bags. Making your own bag is a great way to save money and it’s lots of fun.
Materials:
- I used brown parcel post paper but you can use almost any sturdy paper
- cardboard
- trimmings for bag and handles (you can use ribbon, twist paper or twine)
Step 1.
Cut a rectangle from paper. The bigger your rectangle, the bigger your bag.
Step 2.
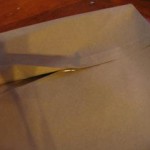
Fold over 1/2 inch on one end of rectangle. Spread a line of hot glue on the other end of rectangle and then put folded edge of paper on top using the crease to line it up evenly.
Step 3.
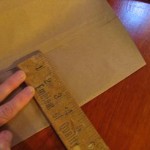
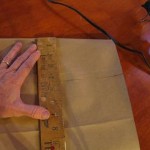
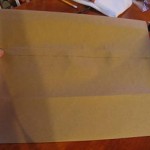
Measure four inches from glued seam make a crease at that point and at the top as shown.
Step 4.
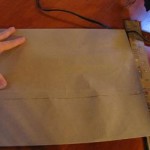
Now measure four inches from crease on other side and make two more folds as shown.
Step 5.
Now make a crease down the center of both sides as shown.
Step 6.
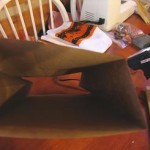
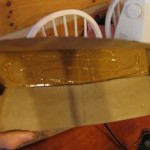
Bag should look like first photo. Now stand it up and trace around bottom of bag onto the cardboard. It should fit snugly in bottom of bag as shown in picture.
Step 7.
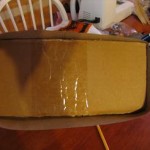
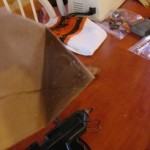
Push cardboard into bag bottom until you can fold over enough to cover half of cardboard piece as shown. Then glue the other side.
Step 8.
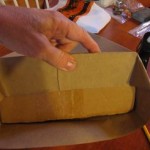
Glue end flaps to bottom of bag as shown.
Step 9.
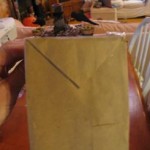
Fold over an inch at top of bag and glue as shown.
Step 10.
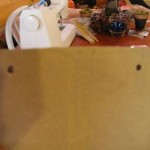
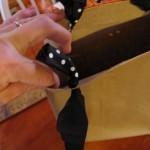
Punch holes on both sides of bag top as shown. Thread ribbon through the holes and then tie a knot to secure.
Step 11.
Glue trim to top of bag or decorate anyway you choose. I used stencils to label my bags according to which prize will be given for different contests we will be having at my “Old Hag Party.” I trimmed mine with ostrich feathers, rose trim, and strips of fabric gathered into ruffles.








Leave a Reply