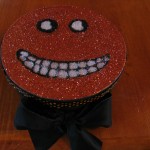
This cardboard container project is really fun to make. You can put any face you like or follow my directions for a cheesy vintage pumpkin look.
Materials:
- round cardboard container (I purchased mine at Wal Mart for $1.97.)
- black glitter
- orange glitter
- glue
- ribbon
- black paint
Step 1.
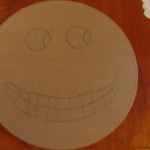
Draw your design using a pencil. You can find lots of pumpkin face patterns if you look at magazines or in the halloween aisle of your favorite store.
Step 2.
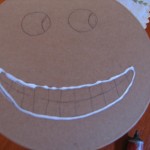
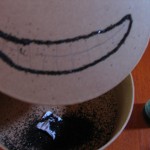
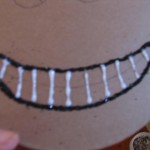
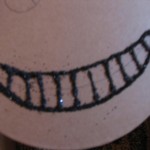
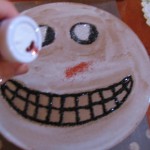
Apply a thin strip of glue around mouth as shown. Sprinkle glitter on the glue line and then shake off excess. Repeat this step to make the teeth as shown.
Step 3.
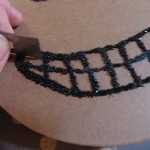
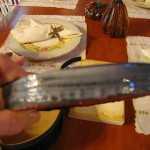
After you make the center line for teeth use a razor blade to straighten out your lines by gently scraping the lines to make them look even all around. Let this dry really well.
Step 4.
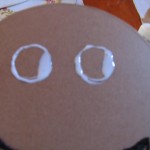
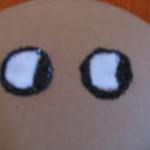
Apply glue to eyes as shown. Then sprinkle black glitter on outline and let it dry well. After it’s dry apply glue to inside of eyes and then sprinkle with white glitter.
Step 5.
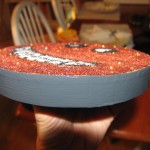
Apply glue to the rest of the face and then sprinkle orange glitter all over, shaking it off as you go. Let it dry completely.
Step 6.
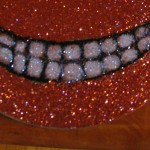
Apply glue to “teeth” and then sprinkle white glitter shaking it off as you go.
Step 7.
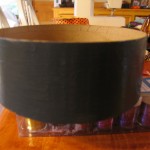
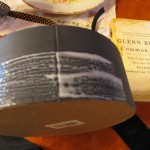
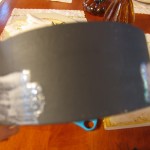
Paint the sides of bottom piece and the edges of top piece black, as shown.
Step 8.
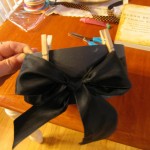
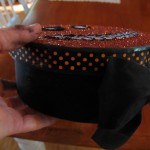
Apply a band of glue on bottom part of your container that is about the same width as you ribbon or trim. Make sure you choose trim that is short enough to allow for the lid to fit on your container when you’re done. Leave an open space at the front as shown where you will tie your bow. Place your ribbon or trim over the glue and tie bow as shown. I glued my bow so it would stay in place and used clothespins to hold it in place until dry.
Step 9.
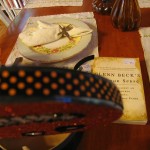
Apply glue to edge of top and then apply ribbon as shown.
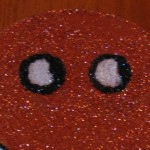
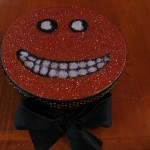
That is so cool. I’m impressed that when you put down the orange glitter for the face it does not mess up the whites of the eyes.
The secret is to let the glitter dry very well between changing colors.