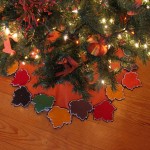
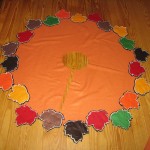
I wanted to put my tree up early this year so I decided to decorate it for Thanksgiving. It looked bare without a tree skirt so I decided to make one. It was easy to make and I hand stitched the leaves while I watched TV and finished all of them in a few hours.
Materials:
- felt squares in different colors (I used 3 layers so bought black for the back, beige for the middle one, and multiple colors for the front. I bought enough to make 22 and was able to cut 3 leaves from each felt square.)
- 1 yard of felt or fleece for skirt
- hot glue or fabric glue
- embroidery floss to top stitch leaves
Step 1.
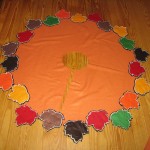
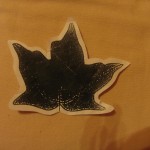
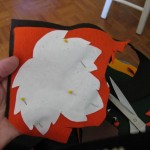
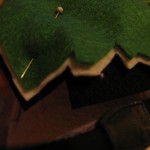
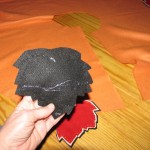
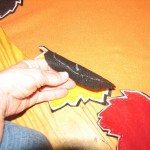
Cut out leaves from multiple colors of felt. I pinned two pieces of felt together so that I could cut out two leaves at a time. I was able to cut out three leaves from each piece of felt. I needed 22 leaves to fit my 36″ circle. I backed all my leaves with beige and black as shown above. I did this by putting each leaf on top of a beige square and cutting it a little bigger than the original. Then I placed the beige leaf on top of the black felt and cut it a little bigger than the beige piece.
Step 2.
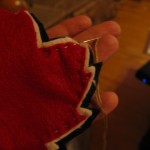
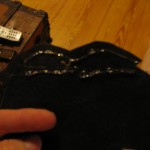
Hand stitch around the edge of each leaf sewing through all 3 layers as shown.
Step 3.
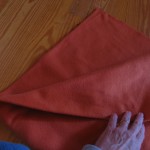
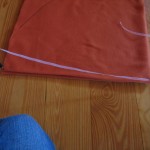
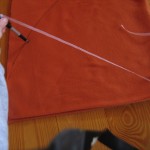
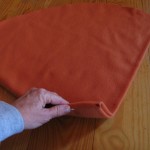
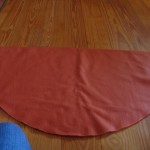
Cut your fabric piece to make it exactly square. Fold it in half and then fold it again as shown. Take a string and cut it to fit from the top corner to the other end as shown above. Pin the end of the ribbon to the top corner and then make a mark along the edge by holding the pen and moving it along the edge as shown. This will give you an even circle. Using the line cut through all layers of fabric.
Step 4.
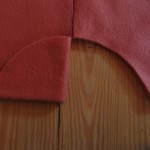
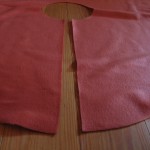
Mark the halfway point. Now fold out fabric and cut a circle at the top and then a slit up to the circle as shown.
Step 5.
Lay out the leaves in whatever pattern you like. I glued mine on by putting glue at the top of the first leaf and sticking it to the bottom of the tree skirt. I put the glue across the next leaf about halfway down and attached it up higher on the tree skirt. Then I glued the top of the leaf as shown above. I alternated each leaf this way to give it an uneven look. You can attach a snap or velcro along the slit and fasten it around the tree stand.
Do you sell those Thanksgiving tree skirts? How much?