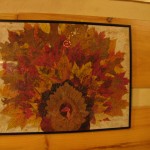
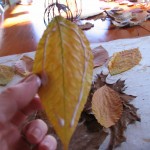
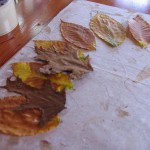
This turkey is made from fall leaves that I collected in the woods by my house. I picked fresh ones and pressed them between two pieces of plywood to make them flat. Then I used the back from a large inexpensive frame to glue the leaves on. I used to take my kids out for walks to gather leaves and then we would make a turkey like this one to hang up for Thanksgiving every year. This is a really fun and easy project for you and your little ones to enjoy together.
Materials:
- One large picture frame with a back
- leaves
- glue
Step 1.
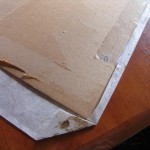
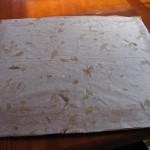
Cover the back of the frame with paper by laying the it on the wrong side of the paper and then wrapping it like you would a present. Tape it all around to secure.
Step 1.
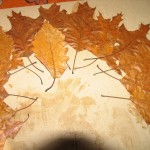
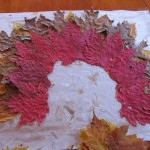
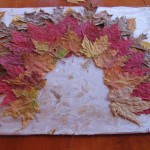
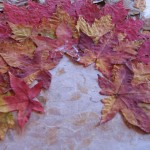
Sort your leaves and then pick the larger ones for the first row of “feathers”. Apply glue to the back of leaves and start placing them on the edge of the board in a half circle shape. Repeat with another row of leaves placing them on top of the first row leaving some of the first row of leaves sticking out so you can see them.
Step 2.
Repeat the leaf pattern until you have as many rows as you want.
Step 3.
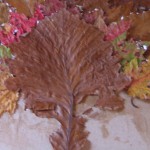
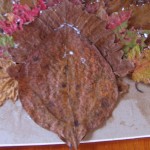
I found a couple of big leaves to use as a body and glued them on as shown above.
Step 4.
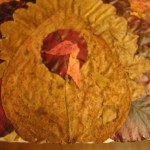
Next I placed a medium sized leaf for the head and then a small leaf for the beak (or whatever its called) and then cut a leaf in half to use as the thing that hangs down on their face. (Idon’t remember what thats called.)
Step 5.
Place a board on top of turkey and weigh it down with something heavy until it dries and then you can put it in the frame.
Leave a Reply