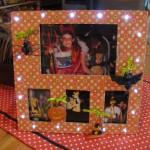
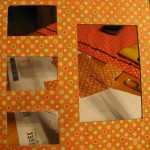
This light up frame is easy to make and I used a somewhat neutral paper so that I can change out the charms and use it year round. It really makes your photos stand out!
Materials:
- wood or composite picture frame ( I think plastic might work as long as you can drill holes in it without splitting it. I haven’t tried drilling a plastic one so I’m not sure.)
- strand of battery operated led lights
- scrapbook paper
- glue
- charms and ribbon
- small dowels (skewers work fine)
- drill
Step 1.
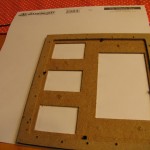
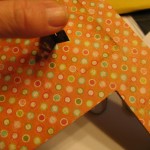
Paint front of frame with thinned glue (thin it out with just a small amount of water) and then put the frame down on the wrong side of the paper. Smooth out wrinkles being careful not to tear the paper. Put something heavy on top to press it down while it dries. I always check it while it dries to make sure it’s not bubbling up.
Step 2.
Carefully cut out each window with a razor blade after the paper is completely dry. If you don’t let it dry first the paper will tear.
Step 3.
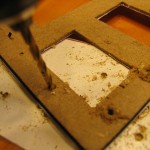
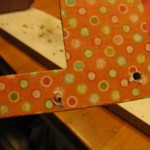
Count the number of lights in your light set and then mark where you want to put them around your frame. Drill holes using a drill bit that is just slightly larger than the size of the lights you are going to poke through the holes.
Step 4.
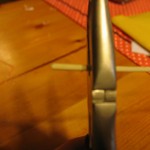
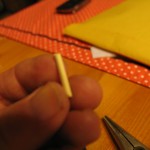
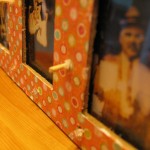
Drill holes (make sure to use a drill bit that corresponds to the size of your dowel) and cut dowel pieces to fit in holes. Secure them with glue as shown.
Step 5.
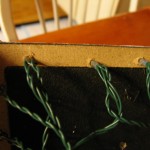
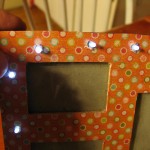
Poke the lights through the holes. If you size your holes correctly by using the right drill bit they should fit well enough that you won’t need to secure them with glue.
Step 6.
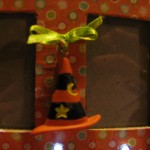
Use some narrow ribbon to tie the charms to the little posts.
Leave a Reply