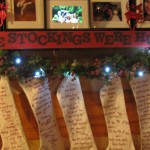
Holiday signs can be very expensive to buy and you can make your own in no time at all. There are many ways to do the lettering and if you use stencils you can make your sign in just a half hour or less.
Materials:
- a piece of wood (I used a piece of thin fence board)
- stencils or letters you can trace
- paint
Step 1.
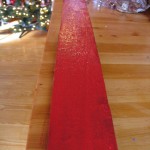
Decide what you want your sign to say and then lay out your letters so you will know how long to cut your board. Cut and then paint the board.
Step 2.
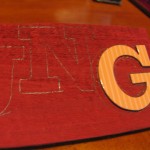
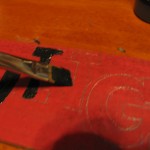
I traced my letters from some scrapbooking chipboard letters and then filled them in with paint. An easier way would be to buy stencils and stencil brushes and use that to apply the letters. If you decide to use stencils and have never done it before it is really simple. I dip my stencil brush in the paint and then dab it onto a paper plate over and over until much of the paint is off. If you do this your paint won’t glob and run and your stenciling will be nice and clean. After you dab off most of the paint just press it down over and over inside the stencil until you’ve filled in the space inside the letter. You may have to re dip your brush to finish each letter but the key to success is to not overload your stencil brush.
Step 3.
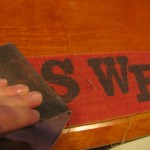
After it’s dry take some sandpaper and rough up the surface to give it a time worn look.
Leave a Reply