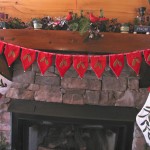
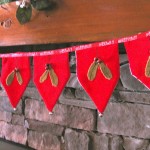
I purchased some velvet stockings a few years ago and decided to make a matching velvet garland for the fireplace. I used fabric glue to attach the leaves and then added some wooden beads for the berries. I backed it with a red polka dot fabric so that I can use it for valentines day or for a birthday party. This only requires minimal sewing skills and is really fun to make.
Materials:
- fabric or the front and a contrasting fabric for back.
- fabric for leaves
- red beads to use as berries
- brown embroidery floss
- decorative ribbon for hanging
- fabric glue
Step 1.
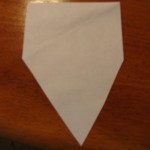
Figure out how many pieces you will need to cover the area you want to hang it. Then cut out the amount of pieces you will need from the velvet, or whatever fabric you choose, then an equal amount from a contrasting fabric for the back.
Step 2.
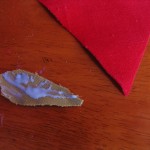
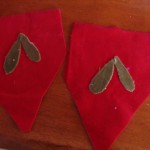
Put fabric glue on the back of each leaf. Place it on the velvet garland pieces as shown.
Step 3.
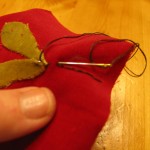
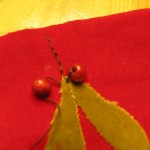
Sew a line with embroidery floss starting at the top of each piece and working your way down to the leaves.(I used two strands)
Step 4.
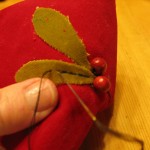
Sew two wooden beads at the top of the leaves as shown. Be sure to secure it at the back with a knot so they will stay on.
Step 5.
Stitch down the center of each leaf with embroidery floss as shown. (I used two strands)
Step 6.
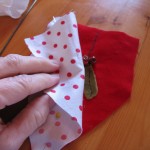
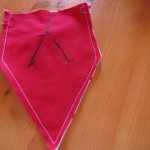
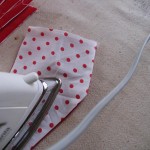
Place front and back pieces together (right sides together) and pin. Stitch around edges using a quarter inch seam allowance. Leave top open. Turn to outside and press the edges from the back.
Step 7.
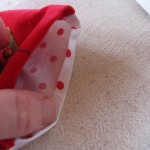
Press under a quarter inch all around the top and then stitch it close to the edge as shown.
Step 8.
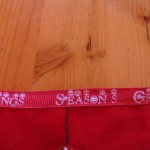
Lay out garland pieces and pin the ribbon to the top of each one. Carefully stitch the ribbon to the garland pieces. I stitched along top and bottom of the decorative ribbon. Make a loop at the ends and stitch. To reverse it for another occasion just glue or stitch another ribbon to the back of the first so the stitching doesn’t show. For Valentines day you could just take off the bells and sew on hearts.




Leave a Reply