This project is easy to make and so much fun. I just found out about shrinky dink sheets for the printer and am so glad I did! I am going to have SO much fun with this stuff and so will you!
Materials
- shrinky dink sheets for the printer ( I ordered mine from www.shrinkydinks.com. They were sent out quickly and arrived in just a few days. The cost is about 9 dollars for 6 sheets.)
- bracelet and o-rings ( I bought mine at Hobby Lobby)
- clear spray enamel top coat
Step 1.
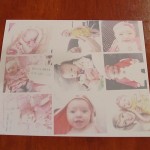
Select the photos you want to use and then you will need to lighten them 50% until they have a washed out look. Amazingly the color will return when you bake them! I printed mine up in wallet size. Make sure you refer to the instructions that come with your Shrinky dink sheets for inserting the paper the correct way.
Step 2.
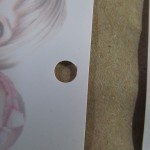
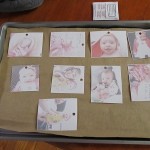
Cut out your pictures and punch a hole in the top of each one with a standard paper punch. I cut mine out wallet size but should have made them a little smaller than that. I ended up trimming mine after baking which is not a good idea because they can crack and break. You can cut any shape you want!
Step 3.
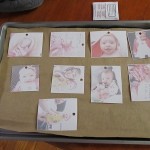
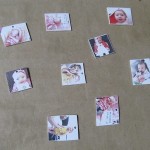
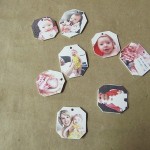
Line a cookie sheet with a piece of brown paper from a grocery bag or something like that. Place the photos face upon the paper and put in a preheated (275 degree) oven for 3 – 5 minutes. The photos will start to curl up so you need to watch them because they can stick to themselves. If this happens pull it apart right away and then let it continue baking. (Obviously be careful so you don’t burn yourself) After they shrink and flatten out let them bake for 30 more seconds. The second photo shows what they should look like when they are finished.
Step 4.
Remove from oven and place a piece of paper over the photos. Press down (lightly) to make sure they are completely flattened.
Step 5.
Spray with a clear acrylic spray to topcoat and protect the photos from scratches. A piece of double stick tape on the back of each photo will keep them from moving around when you spray them.
Step 5.
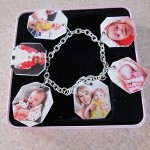
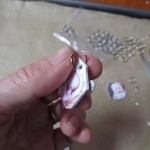
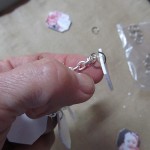
Open the o ring and stick it through the hole you punched in the photos. Slide tho o ring and photo onto the bracelet and squeeze the o ring closed.
Leave a Reply