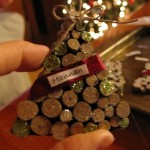
These little ornaments are really fun to make and would be a great project to do with your kids. I purchased the wood pieces in the floral department of Hobby Lobby but I think you can also get them at Wal mart or Michaels. I made one for each of my family members to take home.
Materials:
- 1 bag of wood pieces
- scrapbook paper
- ribbon
- thin twine or cord
- glitter
Step 1.
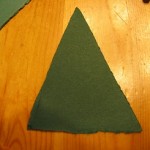
Cut out tree shape from scrapbook paper. Cut another piece for the back of each tree.
Step 2.
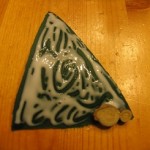
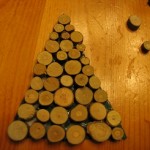
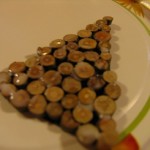
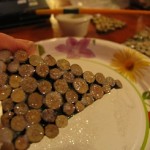
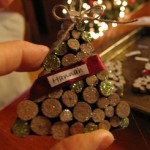
Apply glue to tree and start putting wood pieces on until tree is covered.
Step 3.
Thin out some glue by adding a little bit of water and then paint it on the wood pieces. I left a few dry here and there so that I could apply some green glitter after the translucent glitter dried. To do this just take a fine brush and cover the ones that were left dry with glue and then shake some glitter on them. The glitter will only stick to the wet spots .
Step 4.
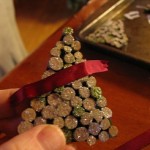
Cut a piece of ribbon that is long enough to wrap around the tree and glue it at the back as shown. I printed up the names of all my family members on fabric paper and glued it on top of the ribbon. You could also use plain paper if you don’t have fabric paper.
Step 5.
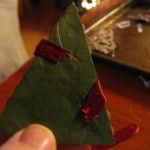
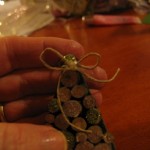
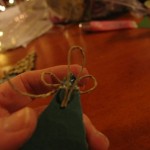
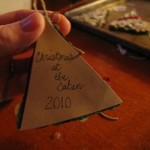
Glue a bow made from twine and glue it on the front of the tree. Make a loop of twine and glue it to the back. Cover the back with a piece of contrasting paper. I wrote the date on the back of mine.

I thought this was a really good idea. My daughter has cut the tops off her fir trees and has lots of twigs which she has already cut ‘slices of wood’ from and these would be ideal for this project. – totally free.
Just find a twig and use strong branch cutter to cut them off any thickness you like. Hope that makes sense.
It’s always good when you can make something without spending money. Great idea!