
I made these sugar cookies from an old recipe but you can use the ready to slice and bake dough from the store if you want to save even more time. I used canned frosting which I tinted with food coloring.
Materials:
- Cookies ( my recipe below)
- can of frosting
- decorating bag, tip, and coupler
Step 1.
Buttermilk Sugar Cookies
4 1/2 cups all purpose flour
2 teaspoons baking powder
1 teaspoon baking soda
1/2 teaspoon salt
1 1/4 cups shortening
2 cups sugar
2 eggs
1 teaspoon vanilla
1 cup buttermilk
Stir together flour, baking powder, and baking soda, and salt. Set aside. In a large bowl beat the shortening and then add sugar. Beat until fluffy and then add eggs and vanilla. Now add flour mixture and buttermilk alternately to the shortening mixture. Beat well. Refrigerate for at least 3 hours.
I always have to add some flour to the dough to make it easy to handle and roll. When it’s ready roll out to 1/4 to 1/2 inch thick and cut out desired shapes. Bake at 375 degrees for about 10 – 12 minutes. This will make about 24 large cookies or 48 small cookies.
If you don’t have any buttermilk you can add 1 tablespoon lemon juice or vinegar to a cup of regular milk. Let it stand for 5 minutes before using it.

Step 1.
Open can of frosting and add a few drops of food coloring. Mix it well.

Step 2.
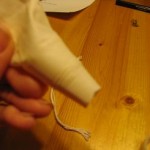
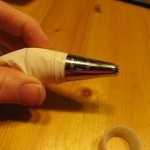
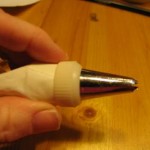
Prepare your frosting bag by putting the coupler inside the bag and push it all the way down to the tip as shown. Then place the tip (I use a wilton #21 ) on the outside of the coupler. Secure the tip by screwing the ring onto the coupler as shown.
Fill your bag with frosting.


Step 3.
Place the tip on the cookie and squeeze out a large dot of frosting. Lift the tip and place it on the cookie next to the first star you made and repeat this step. Do this all the way around the cookie.
You can practice first on a piece of wax paper.
Leave a Reply