This scarf is easy to make and a lot of fun to wear. It always makes people smile and brightens the holidays!
Materials:
- 3/4 to 1 yd of wide fleece
- 1 set of LED battery powered lights (get the ones that use AA batteries because C batteries are too heavy)
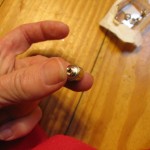
- eyelets (you can purchase these at any craft or fabric store)
- hot glue
Step 1.
Cut out two pieces of fleece that are the length and width you want your scarf to be.
Step 2.
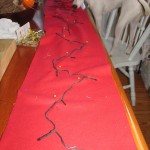
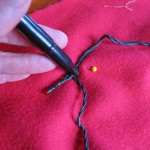
Lay out lights on the wrong side of front of scarf. Mark the spot where each of the lights are so you will know where to put the eyelets.
Step 3.
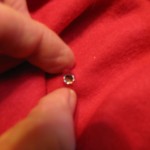
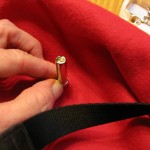
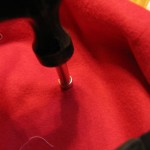
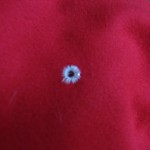
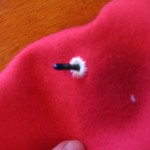
If you use the applicator that comes with the eyelets you will first make a small hole in the fabric where each of the marks are. Next put your eyelet (top of eyelet down) on the bottom part of the applicator. Place the fabric over the eyelet and then pound it into place using the second piece of the applicator and a hammer as shown.
Step 4.
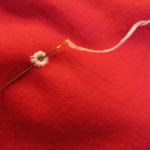
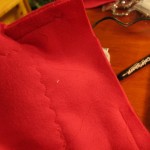
Using two strands of embroidery floss stitch around each eyelet as shown. The light should fit snug in the hole.
Step 5.
Step 5.
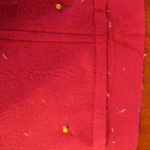
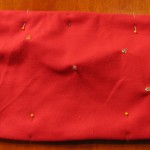
Cut a piece of fabric for a pocket that is a little larger than your battery pack. Turn under a quarter inch on the top edge and stitch. Pin the pocket on the back side of scarf near the bottom where your wires will hang out. Stitch it into place leaving the top edge open. Sew a snap or piece of velcro at the top to keep your battery pack in place.
Step 6.
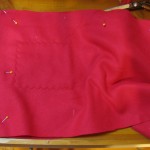
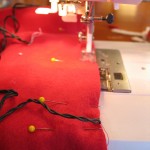
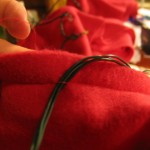
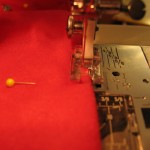
Put the back of scarf and the scarf front together (right sides together) and stitch all the way around leaving one end open to turn scarf to outside and so that you can remove the lights to wash it. Be very careful with the wires so that you do not stitch through them. You will leave the battery pack hanging out at the edge of the scarf next to the pocket so stop sewing when you get to the wire and then pull the fabric through the machine foot until you are past the wires and then continue sewing all the way around.
Step 7.
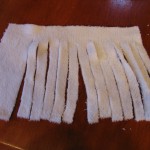
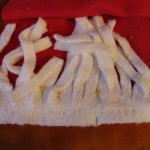
Cut two pieces of fleece that are the same width as your scarf and as long as you want it. Cut it as shown. Lay it (right sides together) on the top piece of your scarf and pin into place. Stitch into place. Place your other fringe at the other end and stitch it into place. After that you will place the bottom piece of the scarf on top (right sides together) and follow the instructions in Step 6 being careful to not catch the edges of the fringe. Be sure to leave open the bottom edge where your lights battery pack are.
Step 7.
Turn scarf to outside using the opening and then pin down flat and topstitch around entire edge being careful to avoid stitching the wires.

wonderful idea!!love it v much