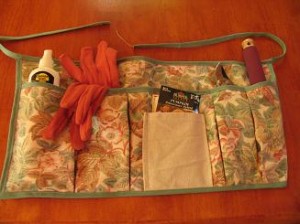
 I am always losing my pruning shears and other gardening tools so I started looking for a cheap apron I could use while gardening. The only ones I found were ugly and expensive so I decided to make one. It was fairly easy and inexpensive to make and I haven’t lost anything since I started using it.Â
Materials:Â
- 1 yard of fabric
- seam binding
Step 1.
To determine how big to make your belt measure the distance between your hip bones and add two inches on each side. The width will be determined by how deep you want your pockets to be. I made mine about 12 inches wide. Â
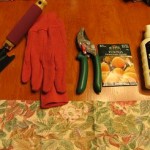
Then lay out all the things you want to carry in your apron so you can determine how many pockets you will need.Â
Step 2.
Cut a second piece of fabric two inches shorter and twice as long as your bottom piece. The extra length will give you enough fabric to make the pleats you will need to give your pockets enough room to hold your tools.Â
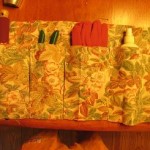
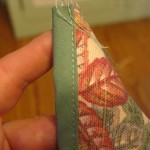
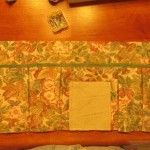
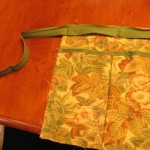
You will need to make pleats by making a fold on both sides as shown in pictures. Pin the pleat in place and repeat for each pocket.Â
I added a contrasting pocket to the outside of center pocket as shown in last picture.
Step 3.
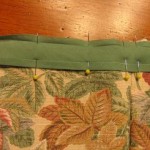
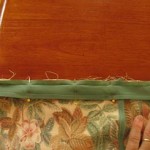
Pin seam binding to top of pocket piece of fabric and then stitch into place.
Step 4.
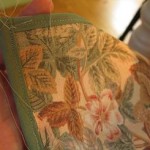
Fold bias tape over to cover seam and stitch into place as shown.
Step 5.
Place pocket piece on top of bottom piece and stitch along bottom edge securing each pleat as you go.
Step 6.
Stitch the inside of each pleat to secure the pockets to the back piece.
Step 7.
Stitch seam binding to both sides of apron. Fold it over and stitch into place.
Step 8.
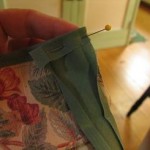
Pin seam binding to bottom of apron as shown. Stitch. Fold over and stitch into place.
Step 9.Â
Stitch seam binding to top of apron leaving extra seam binding on each end to use as ties. Fold over and stitch as shown in picture.





Leave a Reply